Tool Overview
This chapter covers the global functionality available in the title and menu bar of DATPROF Analyze. Subsequent chapters will dive deeper into the core functionality and detailed settings of the tool.
In general, the analysis process includes the following steps:
Creating a new project
Providing a connection to the database
Importing metadata from the database
Configuring the Analyze profiles
Running Analyze statistics
Analyzing the database and interpreting used profiles
These steps form the foundation for using DATPROF Analyze effectively.
Getting Started: Create or Open a Project
When DATPROF Analyze is launched, a dialog appears, allowing the user to choose between creating a new project or opening an existing one. The user is presented with three options:
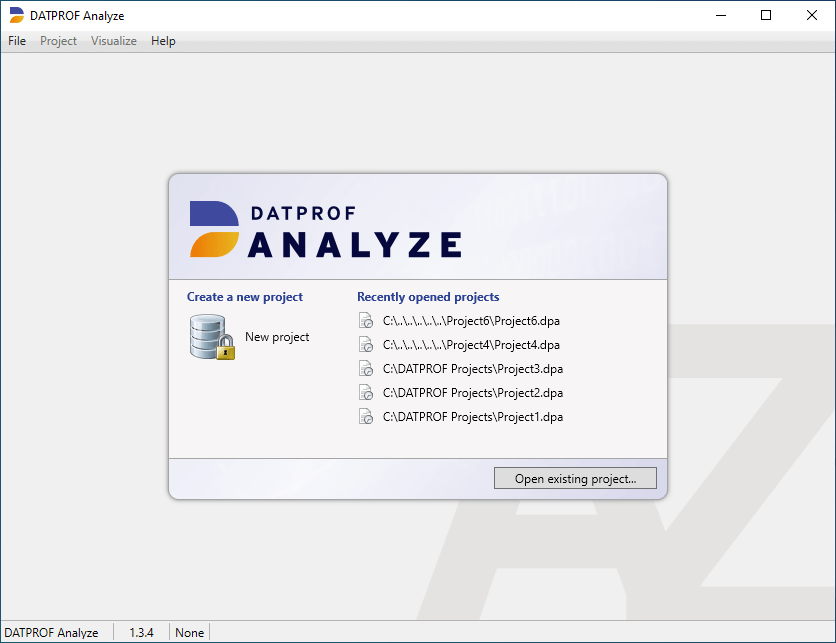
New project: This option prompts the user to enter a project name and select a location to save the project. Both fields are prefilled with default values. Upon confirmation, an empty project is created, and the Settings window is displayed.
Recently opened projects: The right side of the dialog lists recently opened projects. Clicking on any project from this list opens the last saved version.
Open existing project: This option displays a dialog box for selecting and opening a previously saved project.
Menu Overview
The menu provides access to various features and functions. It includes the following four options:

File
Project
Visualize
Help
File
The File menu provides options for managing and organizing your projects:
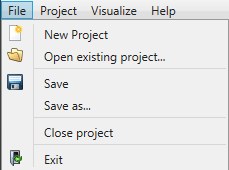
New Project: Opens a dialog box to create a new project.
Open existing project: Opens a dialog box to load an existing project.
Save: Saves changes made to the current project.
Save as: Saves the current project as a new project with a different name or location.
Close project: Closes the current project and returns to the opening dialog.
Exit: Closes the DATPROF Analyze application.
Project
The Project menu offers several features for managing metadata, generating reports, and viewing profiling data:
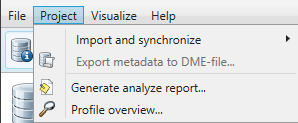
Import and synchronize: Opens a dialog to import metadata or use a DME file along with the synchronization metadata wizard.
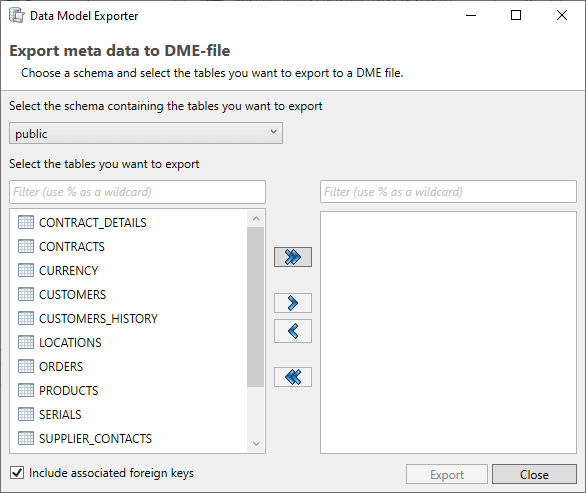
Export Metadata to DME File: Opens a dialog to export the data model (partially or entirely) to a generic DATPROF file format. This format allows the exchange of data models and metadata within the DATPROF product suite, including DATPROF Subset, DATPROF Privacy, and DATPROF Analyze.
To export, navigate to Project → Export Metadata to DME File, and select the tables and foreign keys to export.
Using the menu option Project → Import and Synchronize metadata from DME file, the user can import a data model from a DME file into this project.
Generate analyze report: Collects all statistics and profiling data and generates an HTML report.
Profile Overview: Opens a view displaying all tables and columns, along with their respective analyzed profiles.
Visualize
The Visualize menu offers an option to view and interact with the data model in a visual format:

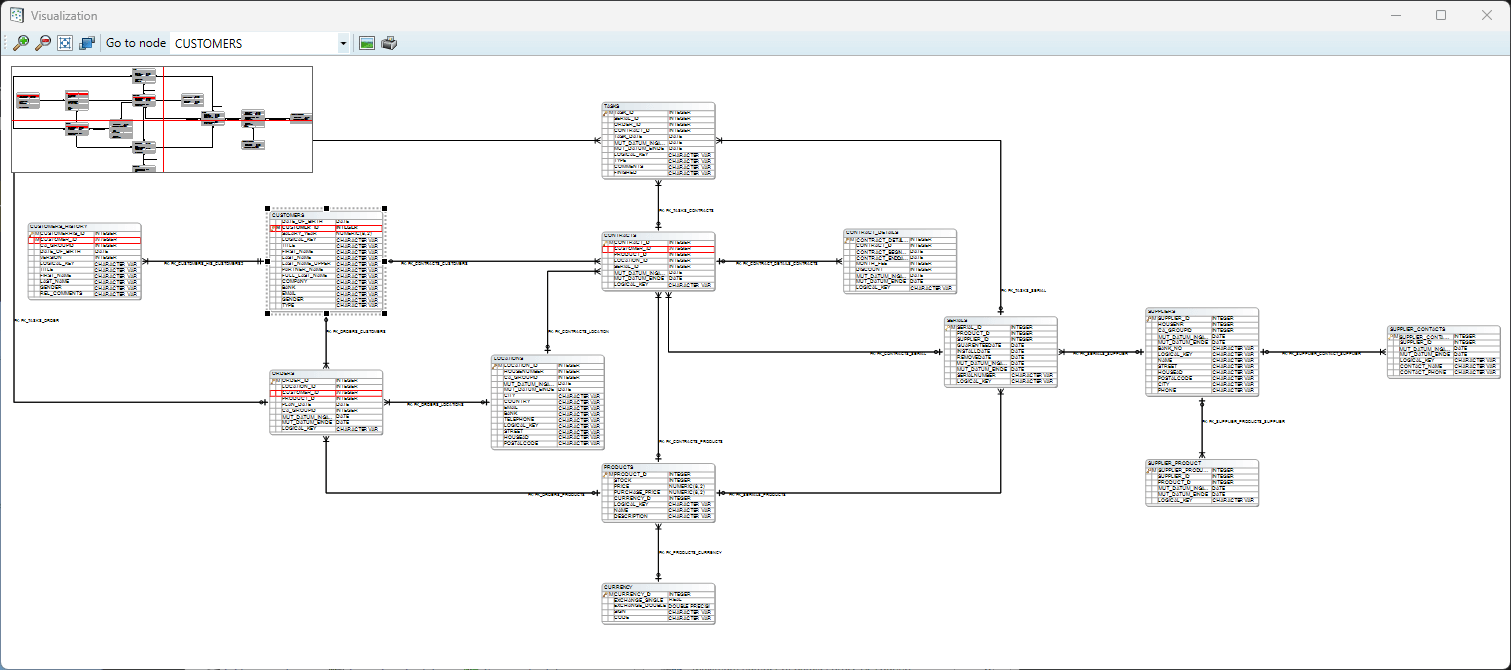
Visualize data model: Displays a visual representation of the imported data model, including all user-defined relationships. The diagram shows all imported entities, along with any custom-added relations.
Additionally, the window provides options to save or print (parts of) the displayed diagram.
Note: Before visualizing the data model, the metadata must be imported via the database connection.
Help
The Help menu provides access to resources for assistance, licensing, and product information:
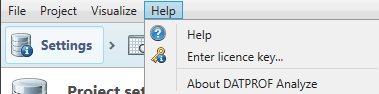
Help: Opens this user manual for DATPROF Analyze. You can access it online at this link.
Enter licence key: Opens a dialog where you can enter a purchased license key to activate DATPROF Analyze.
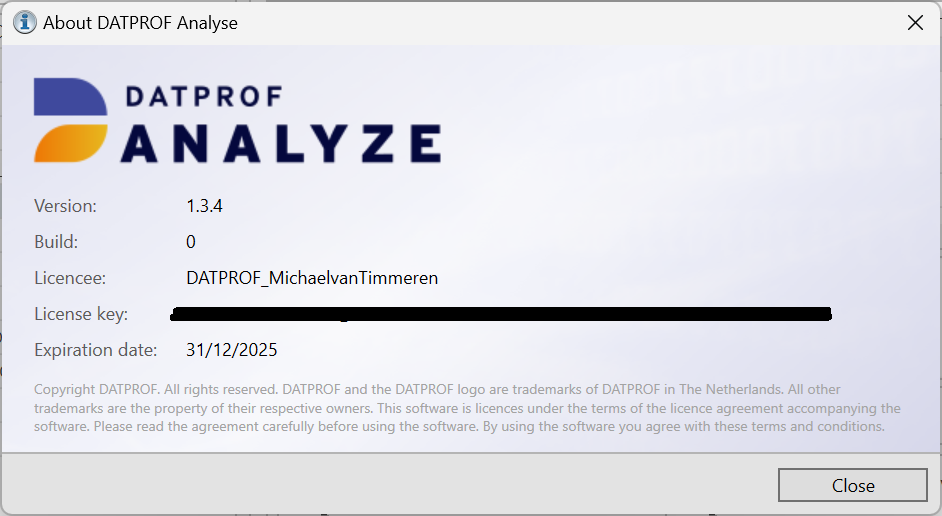
About DATPROF Analyze: Opens the About screen, displaying version information and license details for the DATPROF Analyze application.