Managing Container Images
In the images menu, users can see all of the available database images on the container host. To modify the available images on the host, the user can upload images, or remove existing images. This can be done both on the container host VM directly by using Docker commands, or by using the Runtime UI. In this page of the documentation we’ll be focusing on the UI, and giving a brief explanation of how to do basic maintenance tasks. For this we’ll be using an image for a container image of a Oracle 19c database as an example, but you can apply the steps in this page to pretty much any container image.
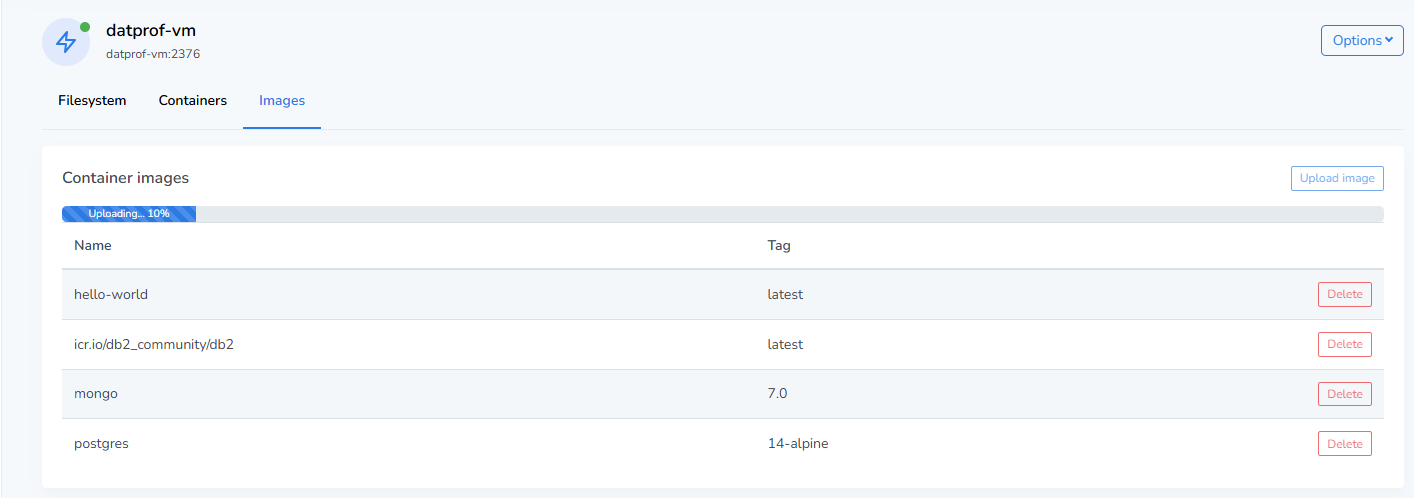
Adding new container images through the Runtime UI
In order to add a new container image, the user can press Upload image on the images tab of the Virtualize menu. This opens the file browser, where the user is expected to provide a .tar of the image. For users inexperienced with how Docker works, this can present a challenge.
To obtain an image and convert it into a .tar on a client (so not the Virtualize VM), the user can execute the following commands, provided Docker in installed on that client.
Pulling a Docker image
syntax:
docker pull <image_name>/<version>

example:
docker pull doctorkirk/oracle-19c
The client now has the image saved within docker. To export this to a .tar file, we use the docker save command, and specify an output directory.
Save Docker image to file
syntax:
docker image save <image> -o <output_directory>

example:
docker image save doctorkirk/oracle-19c:latest -o C:\Users\Yoeri\oracle-19c.tar
It can take a moment for this command to finish, depending on how large your container image is!
Uploading container images to the Virtualize VM
Now that we have an available container image, we can simply press upload image, and select our image .tar file. Once we do, the UI will track the progress of uploading and installing the image to the Docker instance running on the Virtualize VM.