Direct Deployment
Deployment/Starting Subset
When the user clicks the button Start… all connections are validated first before running the Subset process. If there are errors they must be fixed before the process continues.
If you encounter an error during your run and handle the error during the run (i.e. changing a faulty query) the change is not automatically applied to your template. In order to prevent future errors you will need to manually edit your template afterwards.
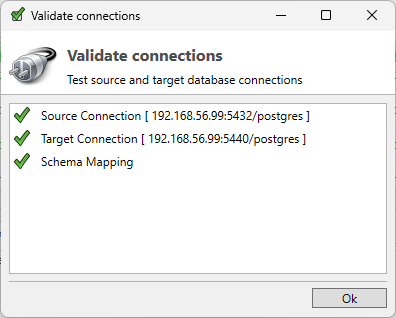
If there are no errors this screen will disappear and a dialog will show up to select a Deployment strategy.

The (Re-)Create mode will (drop and) create new Tables and Foreign Keys in the Target database. No indexes, packages or other objects are created! Not all table and datatype options are supported in recreating the table on the target database. Typically the data model is created by the application.
The (Re-)Fill mode will empty the tables in the Target database and fill it with new data. The data model in the Target database should be consistent with the data model in the Source database. If not consistent the column option “not on target” might be helpful.
Using the Append mode , data from the Source database is added to the existing data in the Target database. There is no verification done to check if a Primary Key exist or not.
The Unique Append mode is similar to the Append Mode. Now a check is done to add only new and unique data, based on the primary key, to the table.
The Functional Append mode enables the user to start a Functional Iteration after the normal Subset process has finished. This only applies to the Foreign Keys which are flagged for Functional Iteration.
This function is meant for development purposes to add a Functional Consistency check on a Foreign Key and check the results without a full Subset run.
At the bottom of this dialog screen the user can choose to either view a graphical representation of the datamodel or the processmodel during deployment. If the datamodel is very large this visualization will be slow!
Options during Deployment
During Deployment three options are available.
Pause: The process will hold on temporarily. A dialog shows up and only when clicking ok the deployment continues.
Abort: The Deployment process will abort.
Errors: Only available when an error occurred.
Errors during Deployment
If an error occurs during Deployment the button Errors is enabled. Pressing this button shows a dialog screen with the errors. Every row contains both the error and a drop-down box containing three options to choose the follow-up action.
None: The Subset process stops. This is the default value.
Retry: This option will make the current process to restart at the current point. Before doing this it is possible to adjust the cause of the error. The normal way to do this is to keep the Action on None, click Cancel, adjust the code, go back to this Errors dialog, select Retry as Action and click Apply.
Skip: Selecting the action Skip will ignore the error and continue with the next process step.
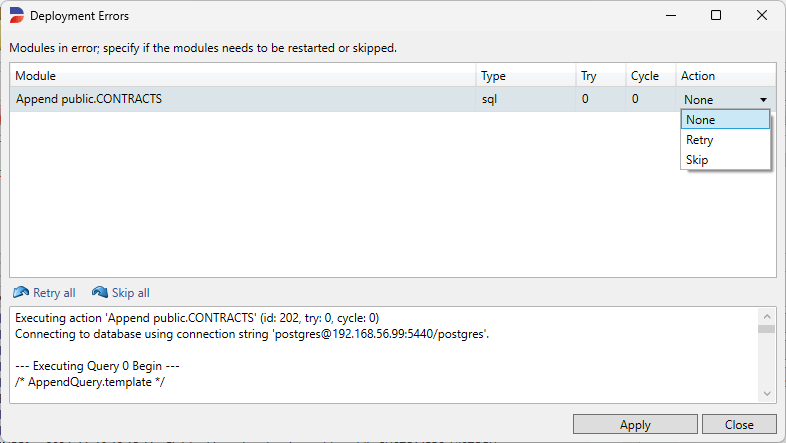
Every action must be confirmed by clicking Apply.
Runtime Agent Port Range
As of Subset version 4.12, you can manually specify a specific port or range of ports for use, providing greater flexibility and control over network configurations. This feature ensures better compatibility with various environments and minimizes the risk of port conflicts.
If no port or range is manually specified, Subset will default to using the first available port within the 5000-6000 range.
To change the default port, you have two options:
Use the program argument
-port-ranges.Set the system environment variable
DPF_PORT_RANGES.
These options allow you to tailor Subset’s port usage to meet your specific requirements.
You can specify multiple ports or ranges using a comma-separated format. This provides precise control over which ports are used. For example:
1024-2048,1234,1236,4000-40101024-2048specifies a range of ports from 1024 to 2048.1234and1236specify individual ports.4000-4010specifies another range of ports from 4000 to 4010.
Setting Ports with Program Arguments
To manually configure a port using program arguments, follow these steps:
Open Command Prompt (CMD).
Navigate to the folder containing
Subset.exeusing thecdcommand.Start Subsetwith a custom port by entering the following command:
CODESubset.exe -port-ranges 5002
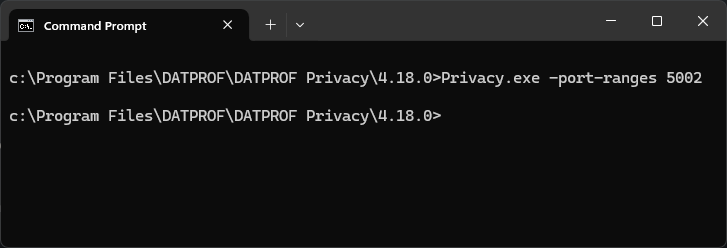
This command starts Subset and sets the application to use port 5002. Adjust the port number as needed to fit your network configuration.
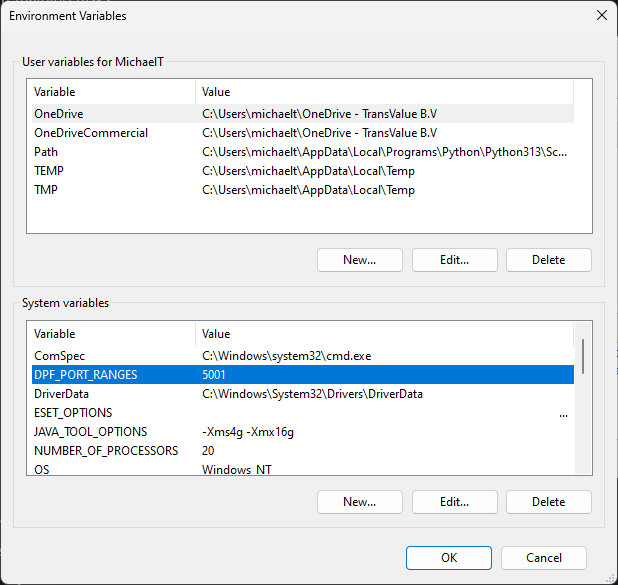
Setting Ports within System Environment Variables
To configure ports using system environment variables, follow these steps:
Open System Environment Variables
On Windows, search for Environment Variables in the Start menu and select Edit the system environment variables.
Click Environment Variables in the System Properties window.
Add a New System Variable
Click New under the System variables section.
Set the Variable name to
DPF_PORT_RANGES.Set the Variable value to the desired port or range, e.g.,
1024-2048,1234,1236,4000-4010.
Save and Apply
Click OK to save the new variable.
Restart DATPROF Subset to apply the changes.
Example Variable Value:
DPF_PORT_RANGES=1024-2048,1234,1236,4000-4010