Creating a simple Workflow
In order to create a new Workflow, follow these steps:
- Open Runtime & log in
- On the left hand side menu in Runtime’s main menu, click “Workflows”
- Click “New Workflow” in the top-right corner.
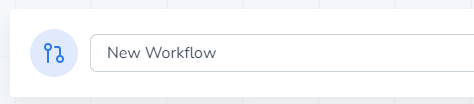
After this, you’ll be greeted with the Workflow interface. We can start adding modules and changing the lay-out, but before we do this let’s rename the Workflow. To do this, in the top-left corner of the Workflow interface click on the current name (by default this is “New Workflow”) and enter a new name. After this, press “Save”.
In order to better understand how Workflow works, we’ll be making a template that executes either a Privacy or a Subset run, and sends an E-mail with specific information afterwards.
This template will only use a few of the available modules. More functionality is available, and more complex Workflows can be made with relative ease.
Every Workflow starts with the “Start Module”. This is a module that only serves to generate a signal when you press the “Execute” button. Let’s test this out by making a simple chain to send an email with some extra data.
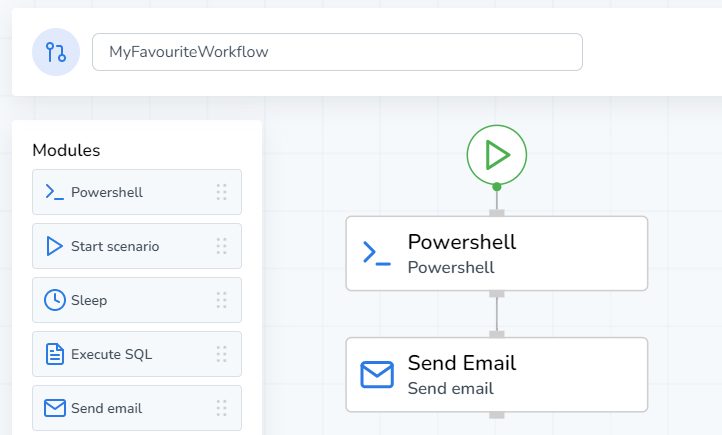
- From the left-hand module menu, drag and drop the “Powershell” module into the interface.
- Do the same with a “Send Email” module
- Connect the modules together by clicking and dragging from the nodes on each module. Modules can have an input handle, and one or multiple output handles.
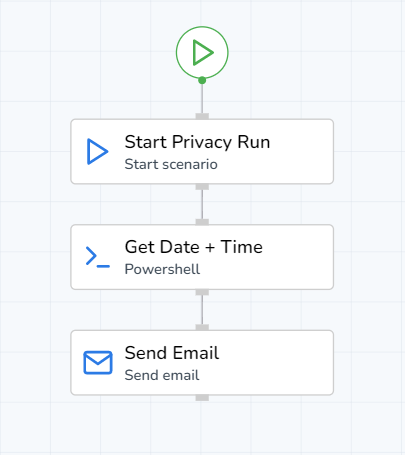
Your Workflow should now look something like this:
If we press “Execute” now, the start module will generate an output signal, and call the Powershell Module. After the Powershell module finishes, it will in turn generate its own output signal, and call the Send Email module. After the Send Email module has finished processing, the run will end.
Configuring the Start Module
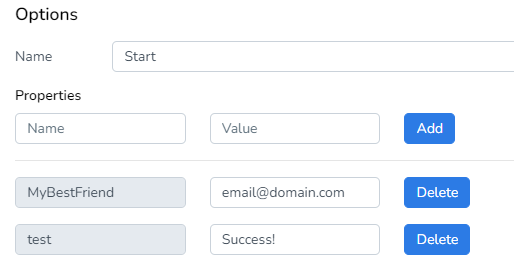
The start module is quite simple; it just sends an output signal. However, we can input fixed output parameters here. This is useful if we’re certain we have static information that we’ll be using throughout the workflow. Because we’re going to send an email, let’s save that email address as an output parameter.
Configuring the Powershell Module
To start off, we’ll add a simple script into the Powershell module in order to generate some data. While in edit mode, click on the Powershell module. Then, in the script textbox past the following code:
$Date = Get-Date
Write-Host $Date
"DPF_OUTPUT:GetDate=$Date"
You should be able to see that a new output has been added. In Workflow, to use Powershell variables as an output you need to use a special syntax.
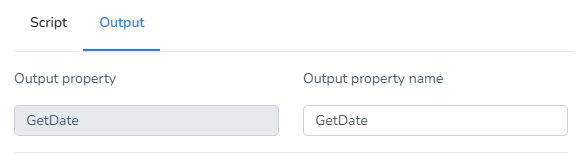
In the Powershell module, you need to denote something in the script as an output parameter. The syntax for this is {“DPF_OUTPUT:<parameter_name>=<parameter_value>”}
What we’ve made here is a very simple script that will print the current system time, and save it as an output.
Configuring the Send Email Module
Now that we’ve got some data ready to be shared with the world (or our testers!), we’re going to configure a way to send it in an email.
- Click on the Send Email module
- Next to Recipient, click on the “<>“ button. Then, click on “Start“, and pick the property for an email address we’ve defined earlier.
- Press “Use Property”
- Add a subject to your email, i.e.: “Your privacy run has finished executing.”
- Add some text to the body of your email. Anywhere in this email it’s possible to use the time we generated in the previous Powershell module. You can include it in the subject, or in the body.
Adding a Subset/Privacy module
Drag and drop a “Start Environment” module and configure it to run either one of the pre-made templates, or a Privacy/Subset module you’ve made yourself. This should be relatively straightforward and asks for the same parameters as you’d usually select when running templates from Runtime.
If you navigate over to the Output tab you’ll see that this module automatically saves all of the information it normally generates (audit logs, deployment information, etc). These output parameters can be used as an attachment for the E-mail we’re about to configure.
Executing the run
Now that we’ve configured a working Workflow, it’s time to execute it.
- Press “Save and close”
- Press “Execute” after being automatically returned to the Workflow overview menu.