Now that we’ve configured our group, added an environment to it, and executed multiple runs, it’s time to configure self service users.
Why configure self service?
Self service accounts are a useful aspect of Runtime, as they allow you (the administrator) to configure a safe environment for testers to execute runs, while limiting their access to the templates being used.
This way, when a tester requires a refresh of their dataset, they can execute the run, and no intervention from an administrator is required, which increases overall productivity.
Adding a new user
- Navigate to the ‘Users’ tab on the left side of the Runtime interface.
- On the top right of this screen, click ‘Add user’.
- The following screen should now appear:
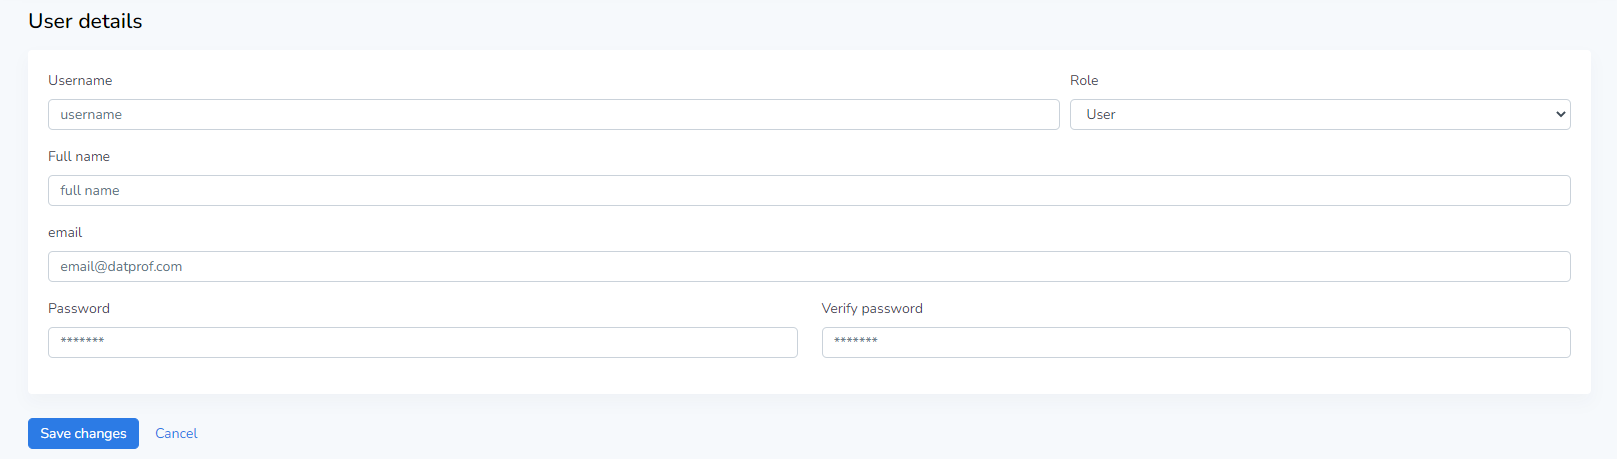
- Specify a username, full name, password and email address for the user.
- Click ‘Save changes’
Currently, there are only two roles available: users and administrators. Users can only execute runs. Administrators have all permissions.
- Now, sign out of Runtime and try logging in with the user account you’ve just created. You should see that no runs are available to execute.
Assigning applications to users
- After logging into the administrator account, navigate to the environment we created earlier in this training.
- Switch to the ‘Permissions’ tab.
- Under ‘Self service users’ select the user you´d like to add.
- Click ´Save changes´
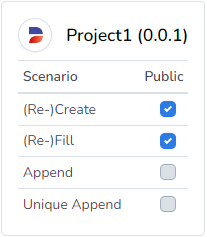
Now, look at the public scenarios. You should see a list of all your installed applications on this environment. Marking a scenario as ´Public´ enables all users to execute it. In the example below, all users are allowed to execute Project1 with either the (Re-)Create or (Re-)Fill scenario.