Direct Deployment
As of Privacy version 4.0 the default Direct Deployment scheme will use an embedded Runtime Agent and will be called as such hereafter. The old scheme will be called Legacy Deployment. The following applies to both schemes unless stated otherwise.
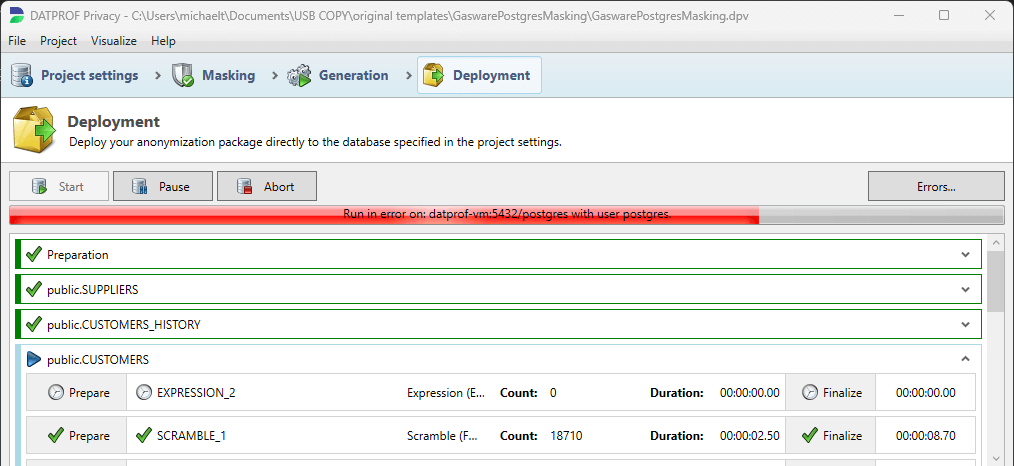
The deployment section allows the user to execute the configured masking functions on the target database (as specified in the Connection Editor). Clicking Start will execute (after confirmation) the data masking functions. Data masking can be stopped or paused using the Abort and Pause buttons.
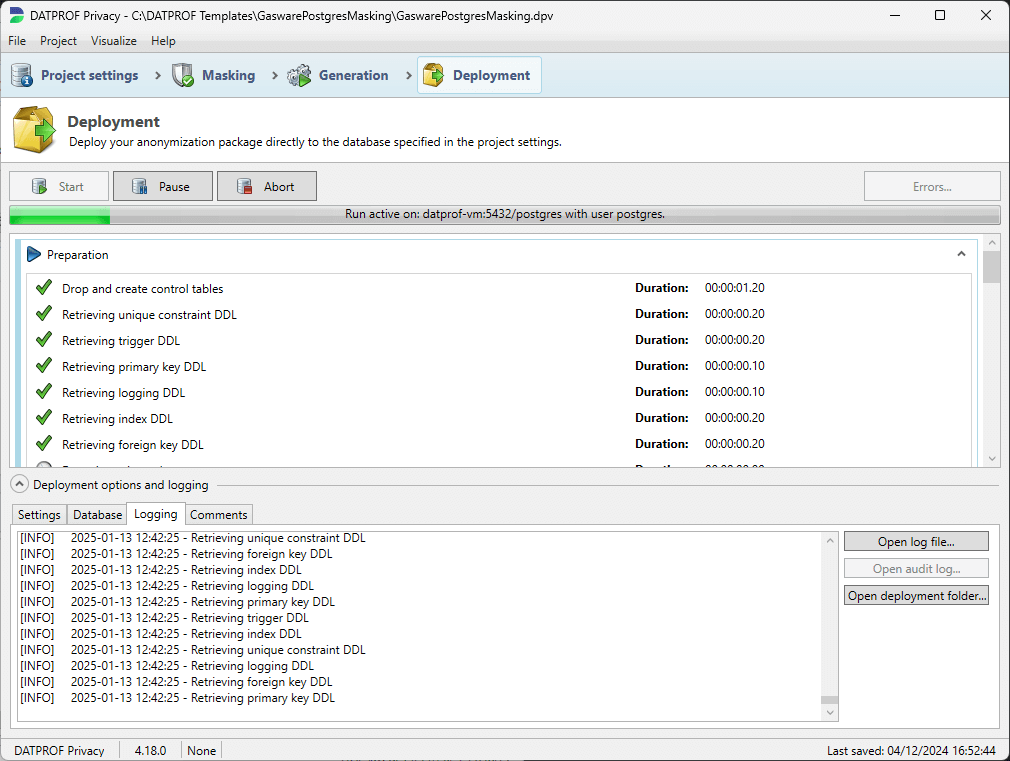
After the execution, the result of the masking is displayed. With the new scheme, not only the result of the masking functions are displayed but also the preparation and finalization. For each function, the number of masked records is shown.
In the Logging tab the various executed steps and detailed results is shown. The log provides input for resolving any errors during the data masking process. Logging output is slightly different between the two schemes.
The logging is also saved in a subdirectory of the Deployment folder of the project. The name of the subdirectory is the timestamp when the deployment was started. The contents is different between Direct Deployment and Direct Deployment (legacy).
Settings Tab
The Settings Tab shows Database and error handling options, depending on the deployment scheme different options are available.
Direct Deployment

Runtime settings
Maximum parallel processes: The maximum amount of parallel processes. The default is set to 8.
Automatically retry errors: You can specify the number of retries whenever errors occur. The default value is 10.
Global salt: This salt is used in addition to each generator specific salt when configured in deterministic mode. Changing this salt will affect the deterministic result the masking process. The global salt will also be available in Runtime as an environment parameter.
Schema for temporary tables: The name of the schema (User) to store the temporary tables. It’s default in the current schema.
Legacy Deployment
As of version 4.15.0 of Privacy, this option has been removed.

Database Settings.
For executing the data masking functions on the database, the user has a number of options which are all checked on by default:
Bypass triggers: With this option enabled, the application ensures that triggers are disabled during masking, so that adding, modifying and deleting records will cause no unwanted side effects. All these disabled triggers are enabled after completing the masking process.
Bypass constraints: With this option checked, the application ensures that constraints are disabled during masking, so the FK constraints do not cause errors during the masking process. All these disabled constraints are enabled after completing the masking process. This includes constraints on tables not in the template.
Bypass indexes: With this option checked, the application drops all indexes before masking to gain performance. Indexes are created after completing the data masking process. Indexes run sequentially per table.
Module Error handling.
Automatically retry errors: You can specify the number of retries whenever errors occur. The default value is 10.
Automatically skip errors: Check this option to skip errors. This option is not checked by default.
Advanced Tab
Only available for the legacy deployment scheme.

Automatic abort settings
Abort deployment after minutes: You can specify the end time of the process. This might be helpful when you have limited time to run the masking process.
Abort deployment after following time: You can specify the exact moment to stop the process. This might be helpful when you are granted a limited time window to run the data masking process.
Runtime settings
Maximum parallel processes: The maximum amount of parallel processes. The default is set to 8.
Schema for temporary tables: The name of the schema (User) to store the temporary tables. It’s default in the current schema.
Logging Tab
The Logging Tab shows a scrollable area with the results of the last data masking run.

All logging is saved to a file, which you can open by clicking Open log file…
An audit log is automatically generated after each run. You can open it by clicking Open audit log…
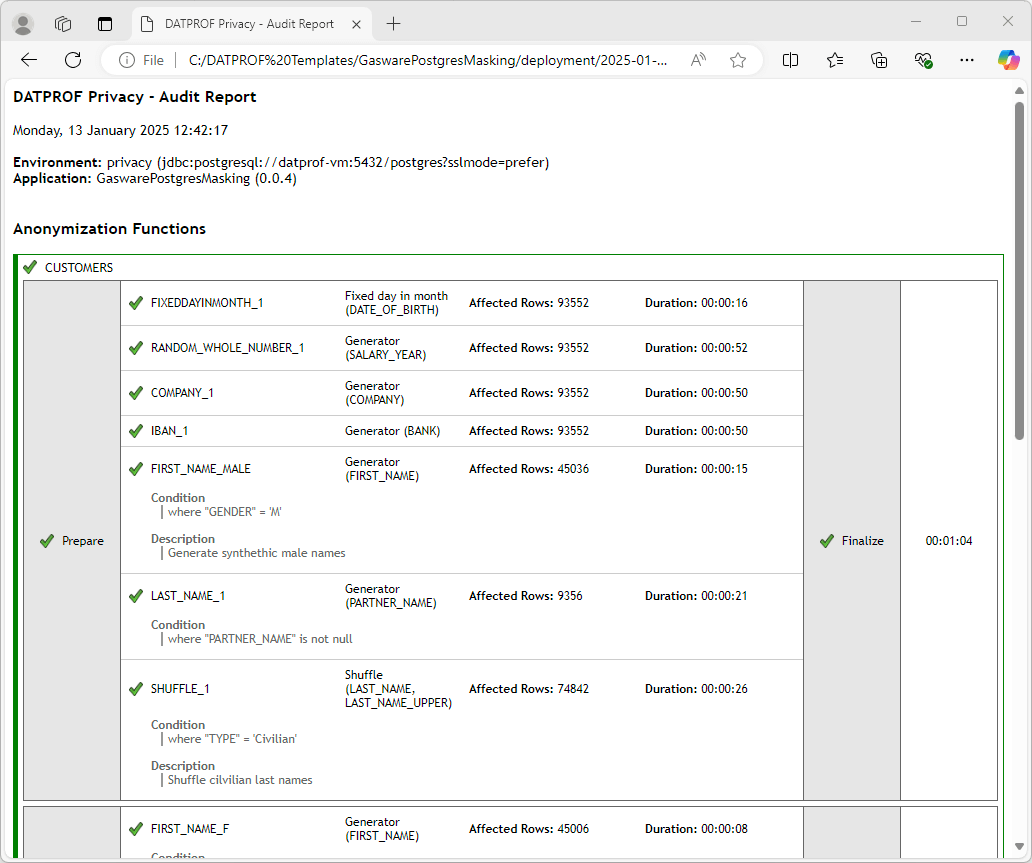
At the end of a run, an audit report is automatically generated and saved as Auditlog.html in a subfolder within the project’s Deployment folder.
This report includes details about the masked database, the user who performed the masking, and a record of the functions applied to each table and column.
Comments Tab
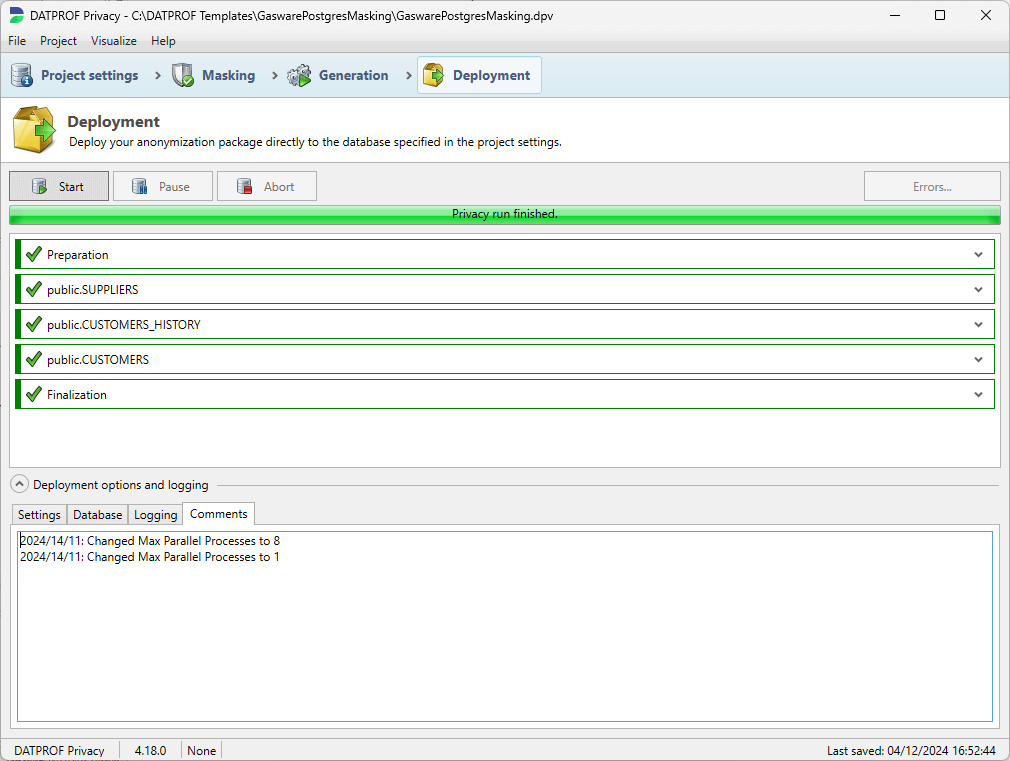
The Comments Tab shows a editable text area where you can specify comments.
These comments will also show up in “Generate comments reports” (Using Menu option Project)
Options during the data masking process.
When deploying the masking process the following options are available:
Pause: The process is temporarily stopped. The button is then temporarily replaced by a Resume button. Once this button is pressed, the run continues and the button is reset.
Abort: The process will be aborted. Aborting a run does not always stop a run gracefully. Because Privacy will perform a clean-up at the end of a run, aborting a run may leave artifacts from the run in the form of temporary tables. Usually, starting a new run cleans up any left behind artifacts from an aborted run.
Error: (Only available if an error occurs) By pressing this button a new screen opens with an overview of currently blocking errors. In this menu, an overview can be found of the offending modules' log text.
Most importantly, when an error is generated, the error(s) are shown in this dialog screen. The upper part of this dialog shows which modules have failed, with at the bottom a detailed description of what has gone wrong. If a run goes into error the user has time to change the underlying template, and either retry in the hope that this succeeds, or skip the module. This can be done by unfolding the Action drop-down box.
None: The default option, which aborts the process.
Retry: This option will retry the process.
Skip: Bypasses the error and continues with the remaining tasks.
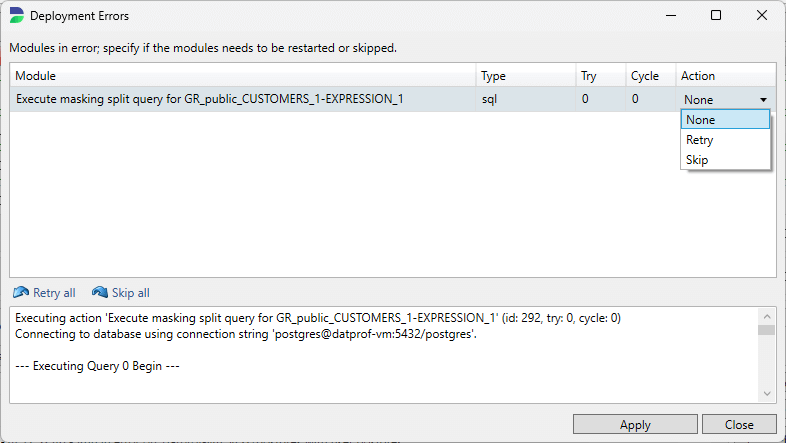
If the error is caused by an error during development it is required to adjust the code and then retry the process. DATPROF Privacy allows you to switch back to the development screen, modify the code, and then return to this screen to Retry the last process and to continue the run. To get there you should first press Cancel and continue from there.
Every drop down action is confirmed by pressing Apply.
Runtime Agent Port Range
As of Privacy version 4.18, you can manually specify a specific port or range of ports for use, providing greater flexibility and control over network configurations. This feature ensures better compatibility with various environments and minimizes the risk of port conflicts.
If no port or range is manually specified, Privacy will default to using the first available port within the 5000-6000 range.
To change the default port, you have two options:
Use the program argument
-port-ranges.Set the system environment variable
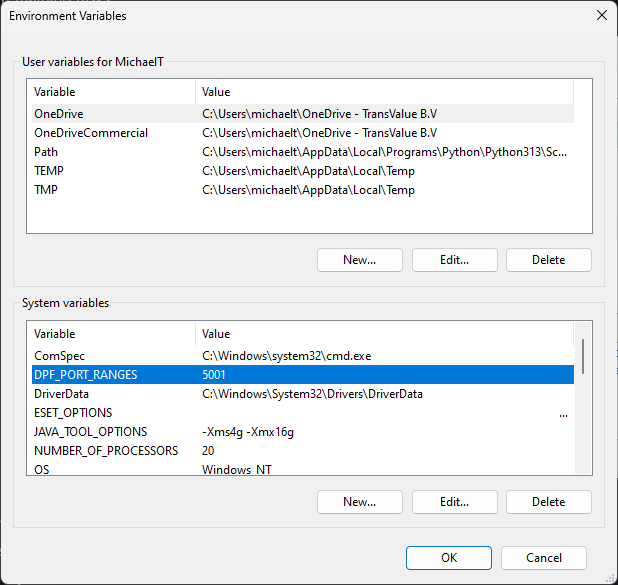
DPF_PORT_RANGES.
These options allow you to tailor Privacy’s port usage to meet your specific requirements.
You can specify multiple ports or ranges using a comma-separated format. This provides precise control over which ports are used. For example:
1024-2048,1234,1236,4000-40101024-2048specifies a range of ports from 1024 to 2048.1234and1236specify individual ports.4000-4010specifies another range of ports from 4000 to 4010.
Setting Ports with Program Arguments
To manually configure a port using program arguments, follow these steps:
Open Command Prompt (CMD).
Navigate to the folder containing
Privacy.exeusing thecdcommand.Start Privacy with a custom port by entering the following command:
CODEPrivacy.exe -port-ranges 5002

This command starts Privacy and sets the application to use port 5002. Adjust the port number as needed to fit your network configuration.
Setting Ports within System Environment Variables
To configure ports using system environment variables, follow these steps:
Open System Environment Variables
On Windows, search for Environment Variables in the Start menu and select Edit the system environment variables.
Click Environment Variables in the System Properties window.
Add a New System Variable
Click New under the System variables section.
Set the Variable name to
DPF_PORT_RANGES.Set the Variable value to the desired port or range, e.g.,
1024-2048,1234,1236,4000-4010.
Save and Apply
Click OK to save the new variable.
Restart DATPROF Privacy to apply the changes.
Example Variable Value:
DPF_PORT_RANGES=1024-2048,1234,1236,4000-4010